In this article, we will deploy Azure CDN in existing Sitecore XP environment using Powershell & Arm template.
Refer the below steps to deploy Azure CDN:

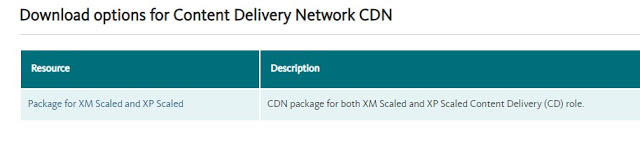
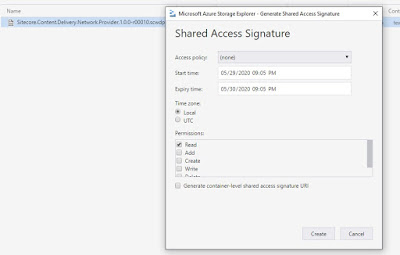
Once it is uploaded, you will find two topology XP & XM. I have selected CDN XP topology for this demo. Then, create a SAS token & save it.

2. Create a parameters.json file as shown below:
{
  \"$schema\": \"https://schema.management.azure.com/schemas/2015-01-01/deploymentParameters.json#\",
  \"contentVersion\": \"1.0.0.0\",
  \"parameters\": {
    \"cdWebAppName\": {
      \"value\": \"<>\"
    },
    \"cdnSKU\": {
      \"value\": \"<>\"
    },
    \"cdnMsDeployPackageUrl\": {
      \"value\": \"<>\"
    }
  }
}
Fill the ARM template parameter
|
cdWebAppName
|
Name of CD instance
|
|
cdnSKU
|
Premium_Verizon, Standard_Verizon, Standard_Akamai, Standard_Microsoft
|
|
cdnMsDeployPackageUrl
|
SAS token of CDN WDP
|
3. Run the below PowerShell command:
Login-AzAccount

$ResourceGroupName = \"<<Enter Resource group name"

$AzuredeployFileURL=\"https://raw.githubusercontent.com/Sitecore/Sitecore-Azure-Quickstart-Templates/master/CDN%201.0.0/xp/azuredeploy.json\"

$AzuredeployParametersFile = \"<<path of above created parameters.json file"

Set-AzContext -Subscription “<>”

New-AzResourceGroupDeployment -ResourceGroupName $ResourceGroupName -TemplateUri $AzuredeployFileURL -TemplateParameterFile $AzuredeployParametersFile -Verbose
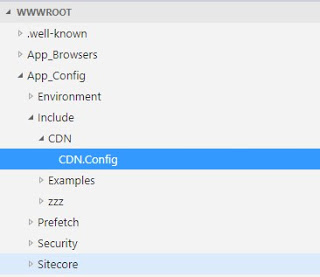
4. Once the script is executed successfully, go to CD instance & you can see CDN.config file inside AppConfig/Include/CDN folder which consists of below settings:
- Media.AlwaysIncludeServerUrl
- Media.MediaLinkServerUrl
- Media.AlwaysAppendRevision
- MediaResponse.Cacheability
- MediaResponse.MaxAge

Read this article to know more about these settings: https://doc.sitecore.com/developers/92/sitecore-experience-manager/en/sitecore-media-library-cdn-related-configuration-reference.html
Navigate your CD instance and inspect any image in your web page, you can see the image URL consists of CDN URL.
For more details about CDN setup in Sitecore refer the below articles:
https://doc.sitecore.com/developers/92/sitecore-experience-manager/en/enabling-cdn.html
https://doc.sitecore.com/developers/93/sitecore-experience-manager/en/cdn-setup-considerations.html